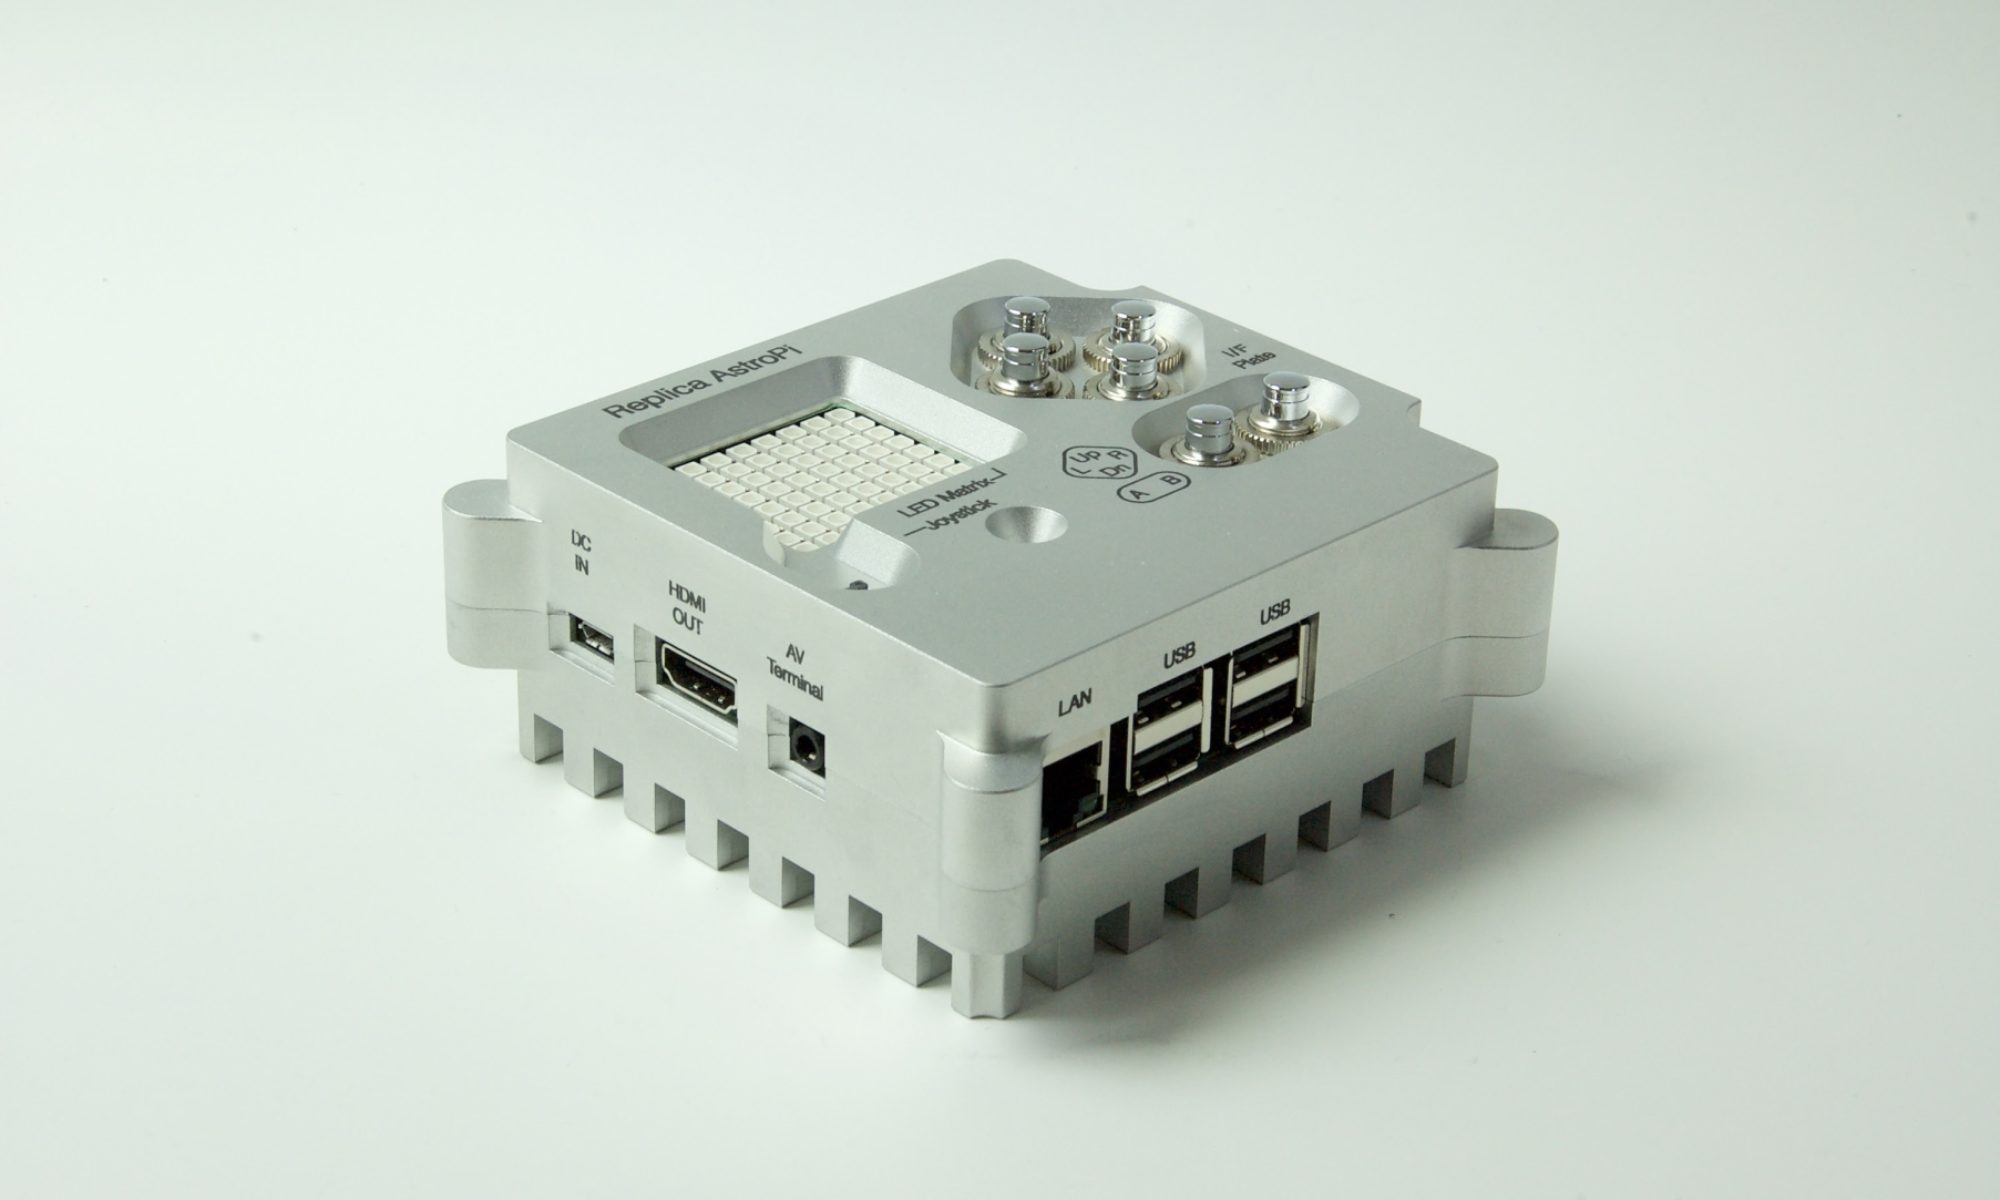
We will assume you have installed a recent version of Raspbian on your microSD card; these instructions are based on the 2017-03-02 release, but it’s best to use the most recent available. You must use `raspi-config` to enable i2c support and since you will probably be using this Pi with a remote connection rather than a monitor and keyboard plugged in you should also enable the SSH server.
After doing that, shutdown your Pi and unplug the power before fitting the switchboard onto the gpio pins. Install the CR1220 battery for the RTC – slide it in with the +ve side upwards.
Reconnect the power and restart your Pi so we can configure the RTC.
In a terminal window use –
sudo i2cdetect -y 1
You should see a 68 appear in the 8 column and 60 row of the grid this displays, like this –
 0 1 2 3 4 5 6 7 8 9 a b c d e f
00: -- -- -- -- -- -- -- -- -- -- -- -- -- -- -- --
10: -- -- -- -- -- -- -- -- -- -- -- -- -- -- -- --
20: -- -- -- -- -- -- -- -- -- -- -- -- -- -- -- --
30: -- -- -- -- -- -- -- -- -- -- -- -- -- -- -- --
40: -- -- -- -- -- -- -- -- -- -- -- -- -- -- -- --
50: -- -- -- -- -- -- -- -- -- -- -- -- -- -- -- --
60: -- -- -- -- -- -- -- -- 68 -- -- -- -- -- -- --
70: -- -- -- -- -- -- -- --
We need to edit the device tree overlay file to include the RTC & SenseHAT support.
First we fetch the dtoverlay file
cd /boot/overlays
sudo wget https://github.com/raspberrypilearning/astro-pi-flight-case/raw/master/dtb/astropi-keys.dtbo —no-check-certificate
Use `ls` to check that you have a file named ‘astropi-keys.dtbo’
Then we edit the config.txt file with
sudo nano /boot/config.txt
Scroll to the end of the file and add three lines
dtoverlay=i2c-rtc,pcf8523
dtoverlay=rpi-sense
dtoverlay=astropi-keys
Save the file by pressing ctrl-o and answering ‘y’, then exit with ctrl-x.
Reboot your Pi and open a terminal window again.
Using –
sudo i2cdetect -y 1
You should see a ‘UU’ as below; this indicates that the RTC is correctly installed.
 0 1 2 3 4 5 6 7 8 9 a b c d e f
00: -- -- -- -- -- -- -- -- -- -- -- -- -- -- -- --
10: -- -- -- -- -- -- -- -- -- -- -- -- -- -- -- --
20: -- -- -- -- -- -- -- -- -- -- -- -- -- -- -- --
30: -- -- -- -- -- -- -- -- -- -- -- -- -- -- -- --
40: -- -- -- -- -- -- -- -- -- -- -- -- -- -- -- --
50: -- -- -- -- -- -- -- -- -- -- -- -- -- -- -- --
60: -- -- -- -- -- -- -- -- UU -- -- -- -- -- -- --
70: -- -- -- -- -- -- -- --
We need to disable the ‘fake’ hardware clock in order to let the real hardware take over. So, back in the terminal window –
sudo apt-get -y remove fake-hwclock
sudo update-rc.d -f fake-hwclock remove
The next step is to comment out three lines in the hardware clock script –
sudo nano /lib/udev/hwclock-set
and comment out (by adding a # character at the beginning of each line) three lines near the bottom so that they read as
#if [ -e /run/systemd/system ] ; then
# exit 0
#fi
Again, save with ctrl-o etc. just as for the config.txt file.
The last step is to set the RTC time to match real time. In the terminal, you can try
sudo hwclock -D -r`
to read the RTC’s idea of the time, which will almost certainly be completely wrong. Use
date
to see what time your Pi has set – as long as you are connected to the internet this should be correct. If your Pi is not connected you will need to set the time manually with
sudo date —set ‘YYYY-MM-DD HH:MM:SS’
for example :-
sudo date —set ‘2017-05-21 14:23:45'
Now use
sudo hwclock -w
to write the time to the RTC. Try
sudo hwclock -D -r
again to check that things have worked.
Finally, shutdown your Pi, disconnect the power and unplug the switchboard in preparation for assembling the boards into the case.
Move long to “Assembling the hardware“
